Showing posts with label crafts. Show all posts

Sunday, December 7, 2014

Fabric Garland . . . .


So here is another little project . . . . a string of 50 White lights with fabric strips tied between them .
Strips are 6 inch long bu 1 inch wide and there are 7 strips between each 2 lights.  It was an easy mindless task, I did not give great thought to what strips went where.  It is looking great in our kitchen window.

Thursday, December 12, 2013

December Daily or almost . . . .

"Maybe Christmas, the Grinch thought, doesn't  come from a store."
Dr. Seuss

Reese's Peanut Butter cups, Chocolate kisses and Corn Syrup. Go light on the syrup, it is your glue.  You can also put some on the outside and then put sprinkles on the trees.
Sharing these little treats with friends and family.

Wednesday, March 27, 2013

Fun Easter Edible Centerpieces


                          So I have better pictures of the finished product then I thought. Here is briefly what I did,   The clear glass vase, cup or mug is filled with Jelly beans or other edible treat.  I made a St. Patrick's themed one with trail-mix in the vase.  I then used wooden skewers and floral tape on them to give them a green stem. I bought small clear treat bags in the cake area of local big box ( W) store also to be found at any craft store.  Spring themed ribbon for these ones.  Food items included: Various Peeps, Tea Bags taped back to back on the stick.  Small Rice Krispie treats taken out of their package and put into the clear bag, Oreos - Spring are yellow filling- I sandwich the stick between the 2 Oreo's - these tend to break a lot so be careful. Pre-packaged York peppermint patties, Reeses Eggs, also a couple of felted things or eggs that I already found on a stick.  At the base of the item on the stick I tie a ribbon - a knot or a bow is fine.   Anyway these do not take a lot of time are fun and colorful, eat it all and what you cannot eat- throw it away. BTW- vases, skewers, floral tape, ribbon, fillers, and stick items almost all can be found at a Dollar store - not every dollar store- you will know the one that has more craft items. Get Creative and have fun!!!

Tuesday, December 20, 2011

Gingerbread 2011


Things change and then they remain the same.  We have been making Gingerbread Houses since before kids. I am not sure exactly what element of the making is attractive . . . certainly the candy attracts the young folk but the element of creativity keeps them attracted as they grow  older.  We always make enough houses that the adults can participate and that is great fun.  I like the colors that are part of the candy palate and I think the ability to make patterns. To be able to create 3 dimensionally is actually not a common  activity.  Most things we do are 2 dimensional or 1.  Years ago these house makers were not strong enough to squeeze out the frosting. . . . now they are so strong that they collapsed their house, then turned it into a "meltdown"  more was added than in this photo. It is all good, the creativity the magic, the friendships and fellowship shared around the Gingerbread table. 

Friday, May 27, 2011

Little Camera Case


So on a Sunday afternoon, I set out to make this little camera case. I read the directions in the book that is pictured. They were easy to follow and I was pleased in how it turned out and that it did not take a lot of time to complete or materials. The only difficult area was sewing the binding on the top by machine. It is a very small area to rotate under the machine with out getting wrinkles, creases and gaggles. I will make another and try to do that part a little differently next time. I will keep you posted. Happy weekend! May you spend your time as you wish!

Friday, May 6, 2011

Yo-Yo's for Mom's


This is a simple project that I am working on . First I embroidered the stem and leaves on a Piece of Muslin. Then I cut out Circles for the Yo-Yo's I did this with my Big Shot Die Cut Machine. Next I did a running stitch around the circles and pull the stitches to gather the yo-yo. Then I add the yo -yo to the stem by way of stitching the button to the yo-yo to the backing. Putting right sides together and machine stitching around 3 sides. Turn it inside out so right sides are not facing out. Next I added dried Lavender about 1/2 full and stitched the remaining side. Lastly is using Embroidery Floss to do the Blanket stitch around the Perimeter of the small sachet. The very top photo I added the Flower yo- yo to a 6x6 painted panel that I had. These are quick although I made about 15 so it has taken me some time. I did each stage all at one time. This is an easy project for Teens. Self Threading needles are a help if threading is an issue.

Sunday, December 19, 2010

GIngerBread Houses 2010


We go back about 23 years in making Gingerbread houses.
First we make the dough, then we bake the houses, then we make Royal frosting and assemble the houses, finally we decorate the houses. This all can happen over time. The kids are usually pretty creative in what they do with their house. Notice in the last photo how the nativity managed to make it to the Gingerbread session,

Saturday, December 11, 2010

Christmas Cards . . . .


This is the beginning of what is to come. I do not have an absolute end in mind, I just have vague idea. I often like to start with making a "master board" then I will cut it up, add more to it and in the end it will become something that I love. Hopefully those that receive them will love as well.
I have already added to this since I shot the photo. More to follow as I progress.

Friday, October 1, 2010

In progress . . .


In progress . . . . you could call that my life. There are always so many projects, homework, food, groups we are involved in that are "in progress" I suppose we are fortunate to be in that position, we are blessed with resources to make that happen and friends and family to cook for and be with and create for.
Cards are for a Creative group and Ronald Mc Donald group,


Soldiers for a Trade Fair at school for Yoda- he is making them himself. This is so they can experience the bartering system as part of Social studies.
Quilt top needs to be stitched then layered and quilted, a Christmas gift me thinks.

Fall is here as the days are shorter, shadows longer and earlier. I have a picture of my Horse Chestnut Tree in bloom right now though- what does that mean? Lots of mushrooms this fall it seems. Golden rod and roadside asters are fading gently as the leaves fall. The fall colors so far are splendid and hopefully if we get a sunny day I can go for a drive, Enjoy the weekend that is upon you!

Tuesday, May 18, 2010

On the Needles


This is what is on the needles currently. It will be a hooded jacket with a front zipper. This is the beginning of the back portion. It is made with NORO yarn Kochoran this link is actually to the real Noro site so it is in Japanese but there are lots of American sites with their yarns. They are Noro - the World of Nature. They have the best yarns, both in combos of fibers and in colors and transitions. I have knit with their fibers and patterns before and it is always very enjoyable. Their patterns are easy to follow and well written. They are however not cheap! I have been planning and saving for some time to make another Noro garment. I will post as it progresses. However it will not be near as fast as some of you out there that can finish a sweater in a weeks time. I find a little knitting improves my concentration. Right now that is a much needed thing in our house. this is straight garter stitch which to some might be boring or not challenging enough but for a busy distracted mama much of the time, it is just right for me.

Thursday, February 4, 2010

Butterfly Quilt


This Quilt is finally finished. Quilts go in stages:
  • Collect fabrics
  • Cut fabrics
  • Stitch blocks
  • Decide you need more blocks
  • Cut and sew more
  • let them rest for awhile - kinda like letting bread rise.
  • Sew them into rows and into a top.
  • let it rest again
  • Decide on borders
  • Sew borders on
  • let it rest
  • Get backing
  • Stitch backing together
  • Press backing
  • Press top
  • Layer the 3 and baste
  • Let rest
  • Quilt it
  • let rest
  • Cut and sew binding
  • Press binding
  • Stitch binding to top
  • Hand sew binding
It is always fun in any stage but especially when it is DONE! This is s simple 4-patch with smaller squares sewed to the corners to make the triangles.

Thursday, January 28, 2010

It's almost valentines, share the love!!


Well it is still a few weeks away but if we do not do a little everyday then we will never get it done. Yoda is working on his for school using these Pre-fab fun animals and fun Scrapbook paper cut up and then he adds other little paper accents. He has 25 in his class plus teachers and friends so I am thinking we are at like 30 + so there are only 24 of these cute animals so we will have to do something different for some of them. This may well be the last year that he is interested in making and passing them out. We record the firsts so well in life but it is often hard to catch the last time. The last time they will sit on your lap, need their nails trimmed, make Valentines . . . . Don't miss the firsts or the lasts, life is to short.

Friday, December 18, 2009

Elf buisness going on here


Well I know it is not for everyone but making things is what I like to do. I love looking through books for just the right idea. Trying to figuare out if I have what I need. The biggest thing I never have is enough time. Always pulled in a 1000 directions and the interruptions, that really can eat up time. So this time of year I am busy baking, making art, sewing, knitting, quilting, but then again I am all year through. it is not just a Holiday thing.
Right now we are down to about 3 days and I have a weeks worth to finish!! wish me luck

Friday, November 20, 2009

Getting Ready


Making these little seed candle holders as place favors for Thanksgiving. Dried beans, glue in a paper cup then insert a candle. very easy and cute.

Monday, October 5, 2009

Tree of Love

Ok so here is my new Bottle Tree. We nicknamed it Tree of Love, It was begun for my Daughter and I the weekend of our 21st Anniversary and each bottle is lovingly consumed with family and friends.
Putting in all these nails was a hard job and put a big blister in his hand. The tree weighs a ton without the bottles, so it is safe to say it will endure. We are repurposing in our efforts to create Art in the Garden. I don't know how many nails are there but safe to say it will be many years before they are all filled if it is left up to us. Kids like the blue bottle the best. This has been a long time in the making so it is great to see it completed!!! Many thanks to my husband for making this happen!!!

Monday, September 7, 2009

Tie Dye Summer Fun


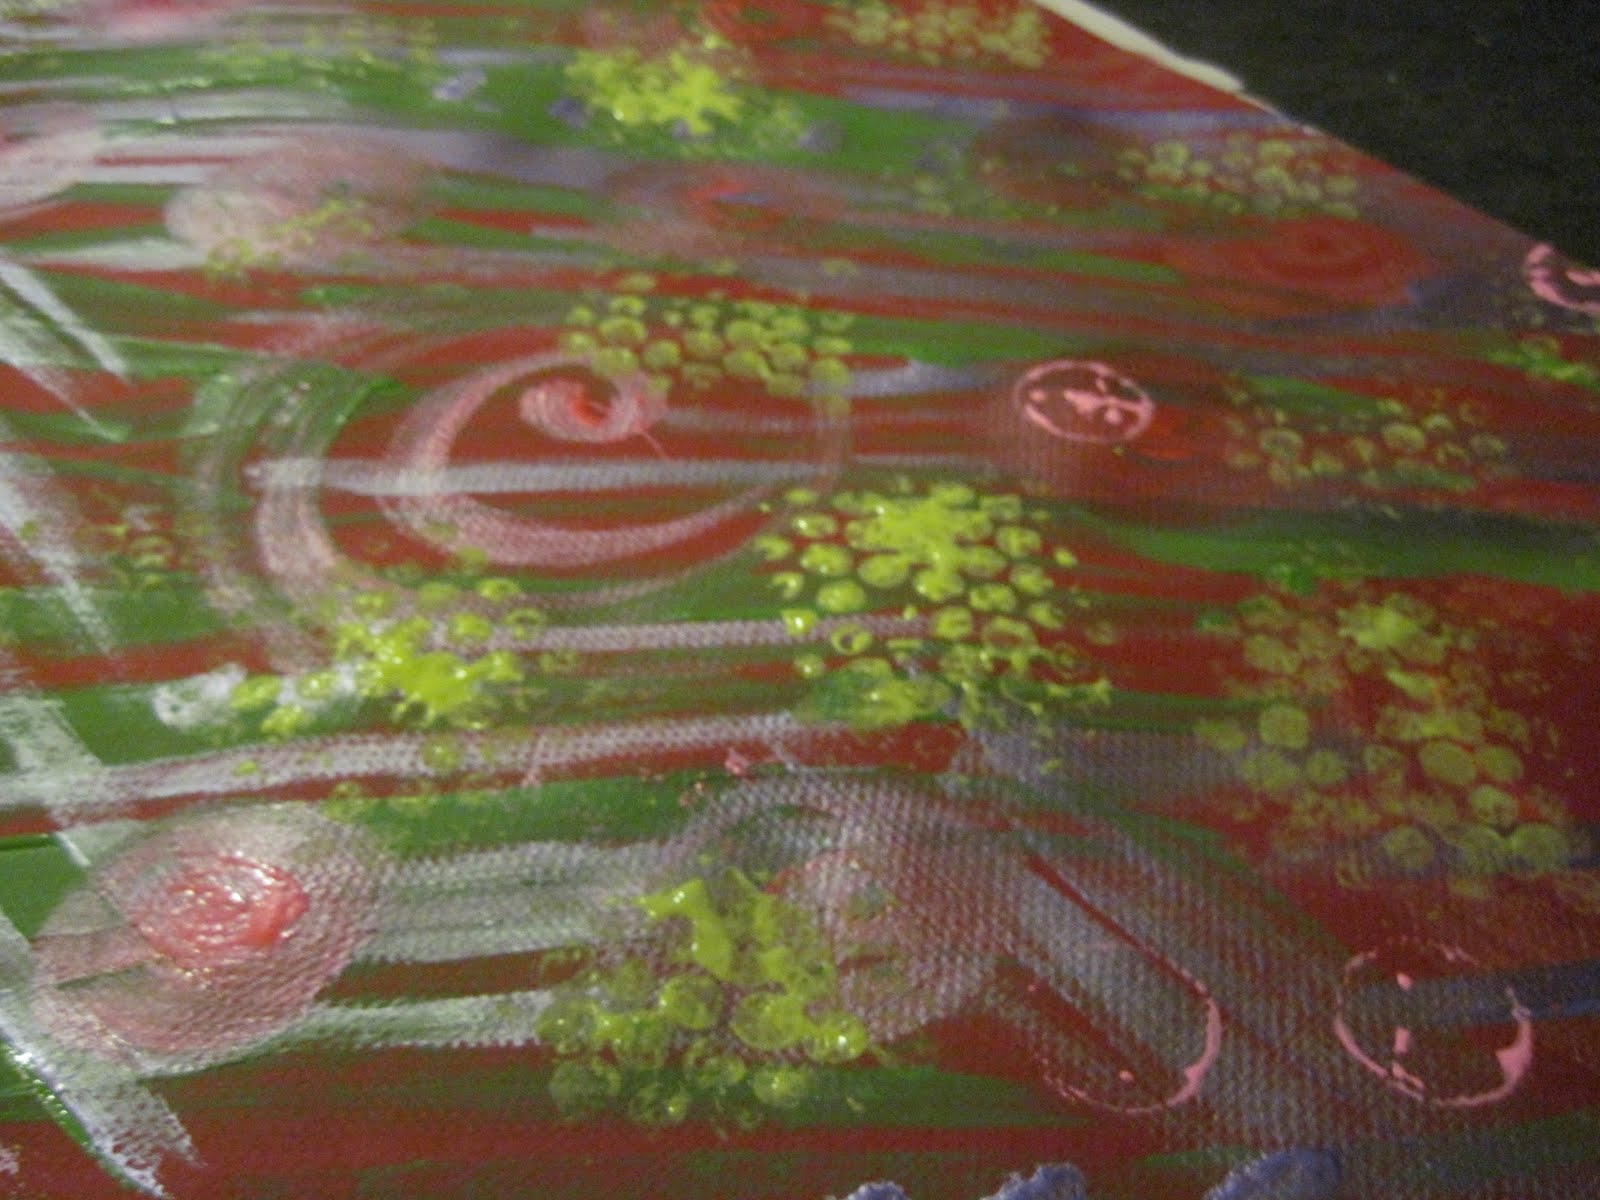
This was our end of Summer Hurrah with our Cousins. We tie dyed shirts, socks and underware. Spirals, bulls eyes and folded flowers. I think this year they could all pretty much do most of it themselves. We are growing up .